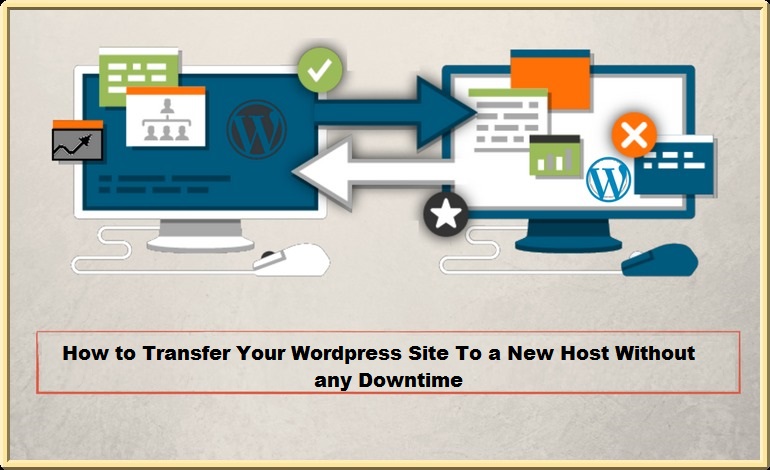
How To Transfer Your WordPress Website To a New Host Without Any Downtime?
WordPress websites are being built every day in great numbers because of its ease of use, lots of free and premium plugins, customization options, and scalability features. In order to run a website, you need to choose a good hosting service.
All website hosting services are not same. Unfortunately, there are many website owners who end up choosing an inferior hosting provider. It comes with several problems, such as fewer resources (bandwidth), poor technical support, unreasonable price, bad user experience, frequent downtime, slow speed, security issues, etc. All these problems can hamper the overall performance of websites and cause great damage to their owners.
Well, you can leave your current web hosting and choose another one. Generally, it causes website downtime (time duration during which your site remains offline), which gives you a great blow to website traffic, leads, and revenue generation.
So, do you want to migrate your WordPress website to a new host without any downtime? If yes, then you need to follow the below-mentioned tips for the successful migration of your WordPress site to a new host:
8 Step Process To Transfer a WordPress Site to a New Host Without Any Downtime
Step 1. Choose A Good Hosting Company At First
Before, switching your website to a new hosting server, you should find its better replacement at first. There are multiple hosting companies available in the market. All of them boast about their hosting services. Just be prudent and do some research before choosing a particular service provider.
You should scrutinize the claims of hosting companies from important parameters, such as price, security features, backup and support services, availability of bandwidth, reputation in the market, etc. This will help you to hammer inferior service providers out and choose a good hosting company within all basic features. If you can’t check all these factors yourself, take the help of WordPress experts without any hesitation. They can easily evaluate different hosting companies and help you pick a suitable hosting service without any apprehension or doubt.
Step 2. Backup Your Site
Before making any change to your website, just take its backup. Just perform the backups of all your website’s files and databases. It helps you to recover your site if things go wrong during website migration to a new host.
If you are technically sound, you can backup all your important databases and files manually. Just download all the content from your website and save it on an external hard drive. But, this will take a considerable amount of time. To backup your WordPress site easily and quickly, you can use WordPress plugins. Some options are detailed here below:
- BackWPup –
 Available in free and premium version. A complete plugin to backup your WordPress site from A to Z and save the files on external Backup Services.
 - Duplicator–
 It’s a good WordPress plugin to take the backup of your entire site quickly and move it to other locations. It also helps you to create niche websites easily, templatize your work flow, and avoid repetitive setups.
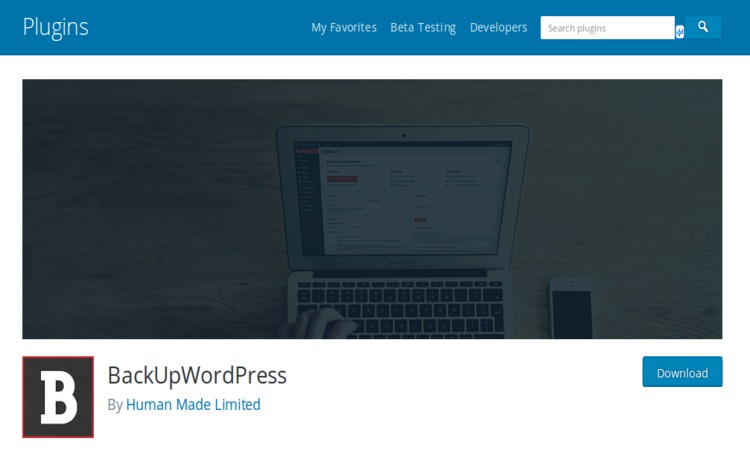
 - BackUpWordPress–
 It’s a decent backup plugin which comes with automatic scheduling support. Based on your specific needs, you can easily create different schedules for your database and file. You will have to use its premium version if you want to store the save files to a cloud storage service
 - WordPress Backup to Dropbox–
 A handy tool to keep your WordPress backups safe on Dropbox.
Step 3. Transferring The WordPress Files To Your New Web Host
Once you backup your website fully, you should transfer the WordPress files to your new web hosting. To complete this process easily and quickly, you must use FTP programs. Alternatively, you can call your hosting company and inquire whether they provide website migration services or not. This will be easier for non-technical persons. You can also use WordPress plugins to transfer all of your files to a new hosting company within a few clicks.
Step 4. Ensure The Well-Being Of The Uploaded Database
In some cases, things go wrong when you import your site’s database. Your database may be corrupted on a new web host. During such situations, you can overwrite the previously uploaded database, consider uploading it once again or can repair it manually with the help of phpMyAdmin.
On several occasions, the new web host may ask you to go through virus scanning or hacking safeguards procedures to ensure the safe migration of your site and protect it from hackers. If you are not able to repair the damaged files, then you can seek assistance from your new hosting company and configure your MySQL database correctly by following his/her instructions.
Step 5. Take Your Domain Name To New Server
As soon as you move all the important files to a new web hosting company, you need to take your domain name to the new servers. It is an extremely important step and you must not miss it any case. If you make any silly mistake here, your website will go offline as soon as you shut down your old hosting account.
Actually, when you choose a new hosting company, they provide you the name servers. Just change your domain’s name servers to that of a new hosting company. This will keep your site live during the migration process. Visitors will automatically be redirected to your new hosting account. To complete this step, you need to sign in to your domain registrar’s dashboard and make the required changes in the DNS settings.
Step 6. Review Your Website Carefully
When you move your existing site to a new host, you face several unexpected problems. All these problems can annoy visitors if you don’t fix them as soon as possible. Therefore, you must review your website from A to Z, trace all possible errors and loopholes, and eradicate them completely.
For example- broken links. Broken links are basically non-existent pages on your site. Such pages frustrate your users. You can track and abolish broken links easily with the help of WordPress plugins. If you happen to be a non-technical person and don’t know how to deal with WordPress site errors and issues, you should consult individual WordPress developers or companies.
Always keep in mind that when you make changes to your site after taking it to a new hosting server, generally it takes nearly 48 hours until DNS changes are processed completely. During that period, your website may load sporadically from both new and old hosting account. After 48 hours, the website will start loading on your new hosting company. This is the right time to close your old hosting account.
Step 7. Transfer Your E-Accounts Carefully
You get frequent Emails from your targeted audience if you provide products/services online. It is very important for every website owner to respond the emails properly in a timely fashion. If you don’t answer their questions, it can frustrate them and damage potential business opportunities coming in your way. So, for a number of individuals, email accounts are one of the most important aspects when they switch to a new hosting company. As per your convenience, you can consider the following options:
Email Hosted By Old Web Hosting Company
In case, your official Email Id is hosted by your old hosting company, you need to create your email accounts once again on the new hosting company and configure it. After configuration, you will start receiving emails as usual.
Email Hosted By A Third Party
If you use 3rd party hosted email addresses, you need to see whether your Email exchange records are updated in your new domain or not. It is a possibility that you may be using an Email Id (Gmail, Hotmail, Yahoo, etc, ) which is not associated with your domain. In this situation, just keep using the email address as usual.
Email Hosted By Domain Registrar
If you use different Emails for domain registration, and they host your Email addresses, you need to switch the email record of your Email ids to the IP address of new addresses. You can seek assistance from your new hosting company in this regard.
Step 8. Recheck And Launch Your Website
By now, you have completed all formalities related to the migration of your WordPress website to a new host. Just recheck your website for errors and ensure that everything is intact. Once you find all is OK, just start using your site as usual.
Final Words:
Switching a new hosting company may seem a difficult task for many if there is a condition of no website downtime. But, with careful planning and a little help, you can easily transfer your WordPress site to a new domain without letting anyone know that something is happening behind the bar. Just follow the above-mentioned tips and perform this task easily and quickly.
Author Bio:
Brandon Graves is a highly recognized WordPress expert among fans/followers and WordPress community. He keeps writing about the latest updates, how-to-do guides, plugin reviews, html to WordPress conversion, tips for website to WordPress etc. To get quick updates from his, follow him on Google Plus.

